Most LED video wall problems don’t start with the screen—they start with the site. If power, earthing, structure, and cable routing aren’t planned correctly, projects get delayed and displays can suffer from flicker, downtime, or premature component failure.
This checklist explains the most important installation requirements in India so your LED wall installation goes smoothly from day one.
1) Quick Pre-Installation Checklist (Before Ordering)
Before finalizing your LED wall, confirm these basics:
- Screen size (W × H) and exact mounting location
- Viewing distance and use-case (retail showroom, corporate lobby, auditorium, stage, etc.)
- Mounting type: wall-mounted, hanging, ground support, or façade
- Content sources: laptop/PC, media player, camera feed, live switcher
- Cable route: where power cables and data cables will run
- Controller/processor location: a safe, ventilated spot near the signal source
- Site photos/videos: front view, side view, ceiling height, and nearest power point
If you want to see common use-cases and setups, check our LED video wall solutions
2) Power Requirements for LED Video Walls (What to Plan)
Power needs depend on screen size, brightness, pixel pitch, and content. A good practice is to plan for both average and maximum power so there are no surprises.
Plan these power basics:
- Use a dedicated power line for the LED wall (avoid sharing with heavy appliances)
- Confirm the nearest distribution board and safe routing for cables
- Ensure stable voltage at the installation location
- For critical spaces (corporate lobbies, control rooms, studios), consider a UPS for the controller/processor and a surge protector for the system
Tip: In your final quote, ask for:
- Maximum power (W) and average power (W)
- Recommended MCB rating and cable gauge
- Any accessory requirements (surge protection, power distribution)
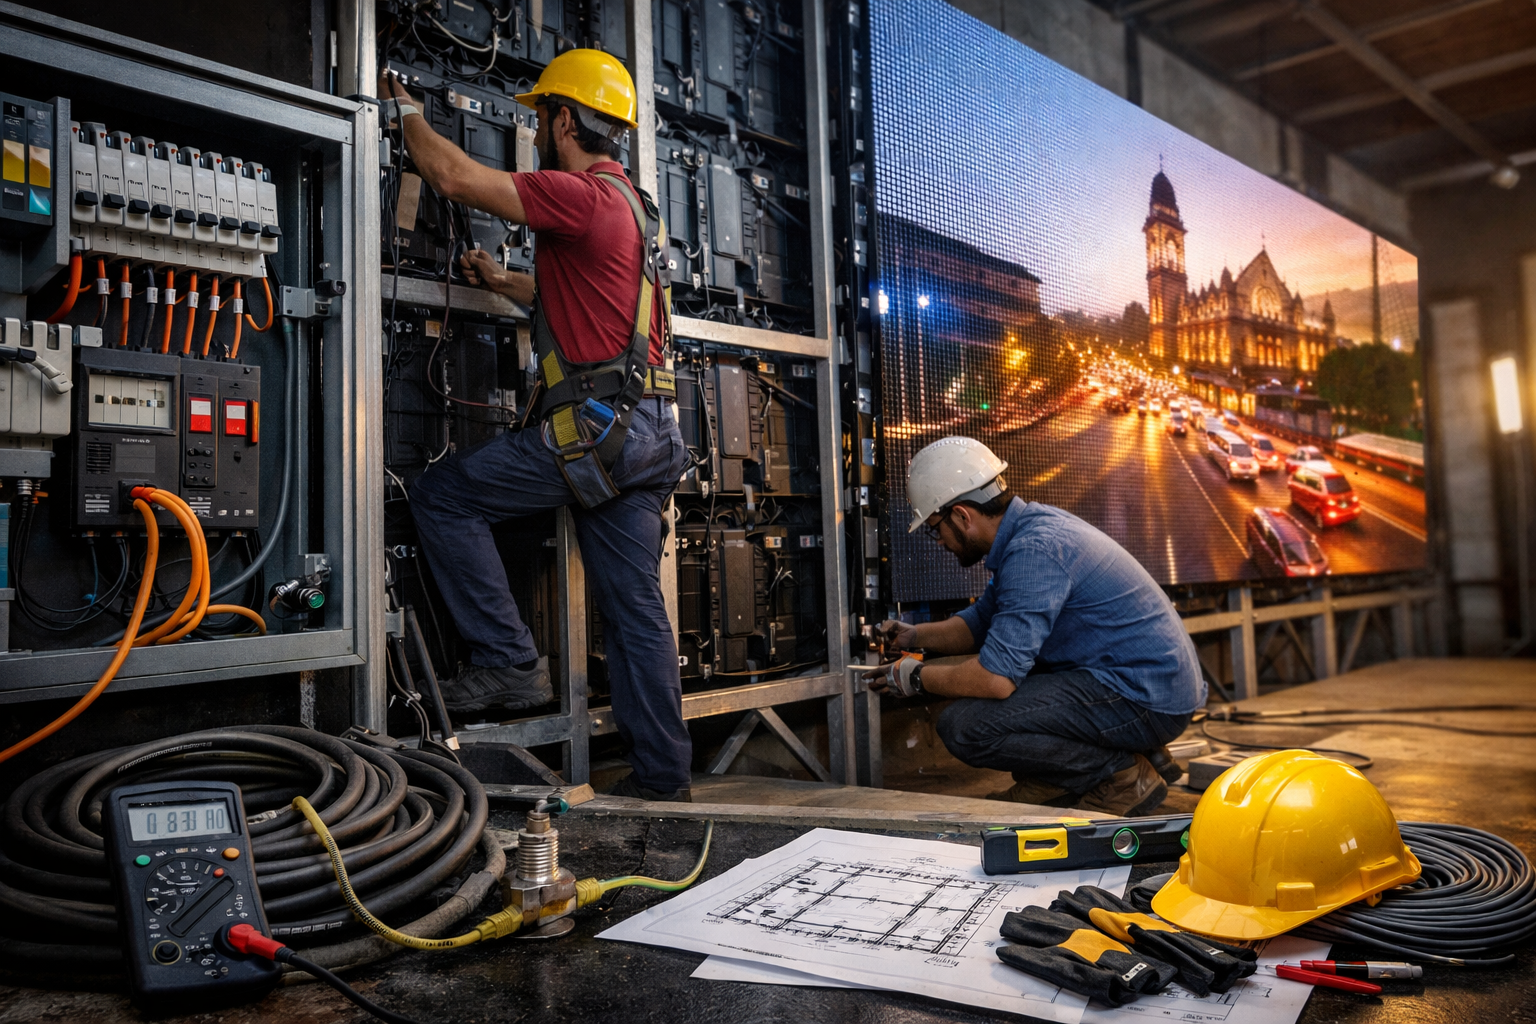
3) Earthing & Safety (Non-Negotiable for Reliability)
Proper earthing (grounding) is one of the most important requirements for LED display safety and long-term performance—especially in areas with unstable power, lightning risk, or heavy electrical load.
Earthing checklist:
- Confirm proper earth connection is available at the installation point
- Ensure earthing is done by a qualified electrician following local best practices
- Use surge protection (highly recommended for outdoor or high-risk locations)
- Ensure all metal structure/mounting frames are safely bonded where required
For an official reference, you can review IS 3043 (Code of Practice for Earthing) from BIS
4) Structure & Mounting Requirements (Wall, Hanging, or Ground Support)
The LED wall is only as strong as the structure holding it. A clean structure improves alignment, reduces vibration, and makes servicing easier.
Wall-mounted LED video wall
Best for: retail, corporate lobbies, meeting rooms, showrooms
- Confirm the wall is load-bearing and suitable for anchoring
- Plan ventilation clearance (avoid trapping heat behind the wall)
- If rear access isn’t possible, select a front-service design so maintenance is easy
Hanging / truss-mounted LED wall
Best for: events, stages, auditoriums
- Use certified rigging practices and safety locks
- Confirm load capacity of ceiling/truss
- Ensure the hanging position allows safe cable routing and maintenance
Ground support / freestanding
Best for: temporary events, exhibitions, large indoor setups
- Stable base and proper bracing
- Safe crowd control and cable management
- Avoid trip hazards with ramps or cable covers
Tip: Always confirm service access. Can a technician replace modules or power supplies without dismantling the entire setup?
5) Cable Planning: Power + Data + Signal (Avoid Common Mistakes)
Cable routing is a hidden cause of installation delays. Plan it early.
Best practices:
- Keep power cables and data cables separated to reduce interference
- Plan the controller/processor location close to your content source
- For long distances, plan for appropriate signal extension (your installer will advise)
- Use secure conduits/trunking for a clean finish in premium spaces
Ask your installer to confirm:
- Cable length limits and best path
- Where the sending box/processor will sit
- Exact input requirements (HDMI, SDI, USB player, etc.)
6) Ventilation, Heat & Environment (Important for Lifespan)
LED walls generate heat. Poor ventilation can shorten component life.
Plan for:
- Adequate airflow (especially in false ceilings or recessed walls)
- Avoid direct exposure to heat sources or sealed enclosures
- Dust control for industrial areas (regular cleaning schedule helps)
If your project is outdoor or semi-outdoor, confirm environmental needs like rain protection and safe drainage paths near the installation site.
7) Typical Installation Timeline (What to Expect)
A clean installation usually follows this flow:
- Site survey and measurements
- Structure fabrication (if required)
- Electrical readiness (power + earthing + safety)
- Mounting and cabinet installation
- Controller setup + signal testing
- Calibration and brightness/color tuning
- Final handover + basic training
For a step-by-step overview of our process, see our LED video wall installation and commissioning service page.
8) Common Reasons LED Wall Projects Get Delayed
Avoid these common issues:
- No dedicated power line planned
- Earthing not available at install point
- Structure not ready or not level
- No clear cable route (especially in premium interiors)
- Wrong mounting location chosen without considering viewing distance
- Last-minute changes to screen size after structure work